
Deck Widget
Deck Widget is a multi-use building bracket for butt joints, perimeter framing, inlays, spacing, and more.
Deck Widget benefits:
- Made for deck builders
- Simple board to board connections
- Reduces splitting
- Zero predrilling-save time
- Increase deflection limits
- Uniquely versatile
Looking for our products in your area?
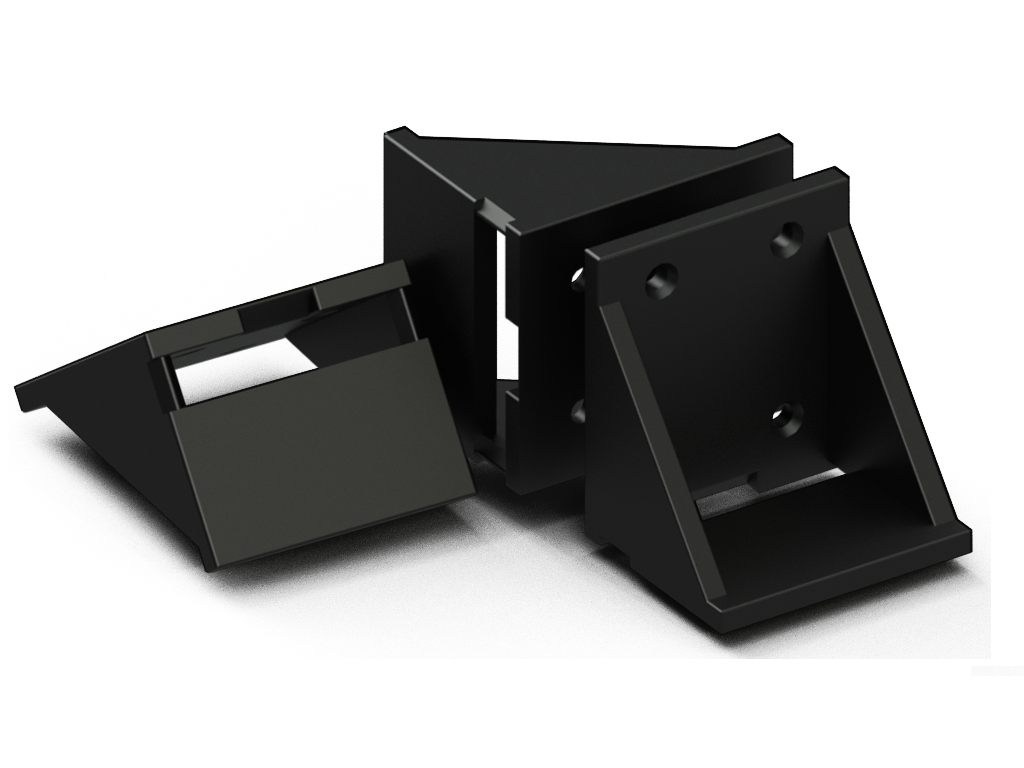

DECK WIDGET IS A MULTI-USE BUILDING BRACKET FOR BUTT JOINTS, PERIMETER FRAMING, INLAYS, SPACING, AND MORE.
MADE FOR DECK BUILDERS
First bracket specifically designed with Deck builders in mind.
Most efficient way to make a butt connection when length of deck exceeds length of longest deckboards available.
REDUCES SPLITTING!
Also makes it easy to keep screw penetrations away from the ends of boards, which can often cause splitting. Easier to follow virtually all Deck board manufacturers recommendations!
Accepts ALL hidden deck board connectors, or screw up from the bottom into decking.
INCREASE DEFLECTION LIMITS
Easily exceeds deflection limits for a decking product (L/360).
Makes a great 3/16 spacer, or a wedge when tight edges need to be opened up before screwing.
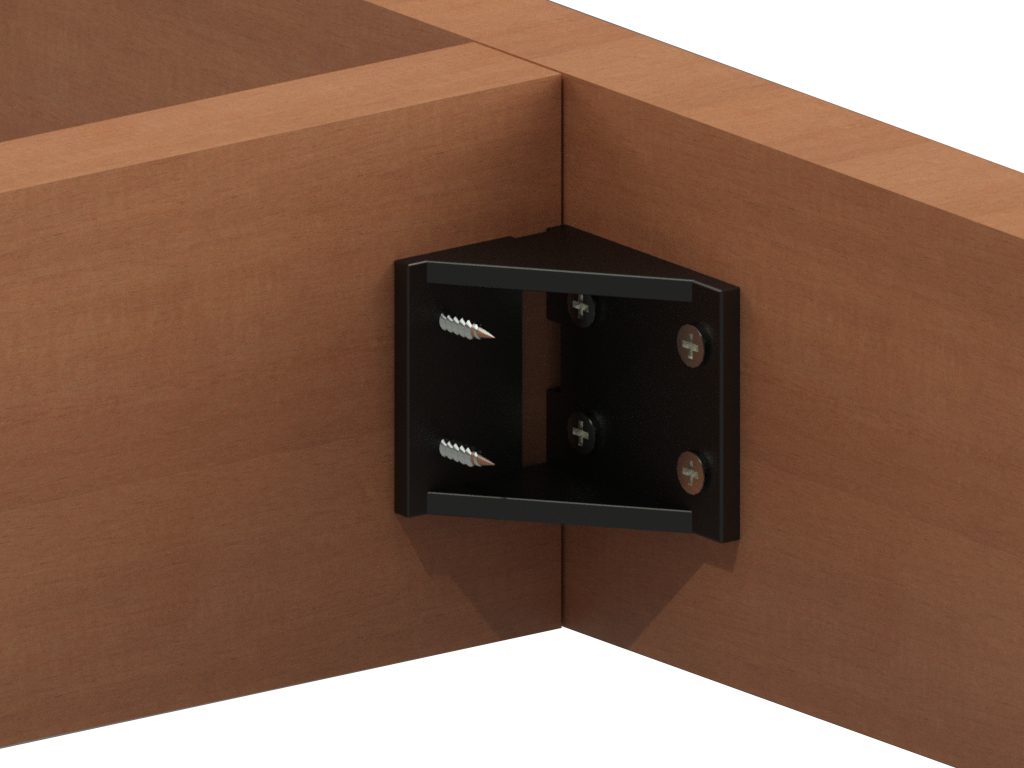
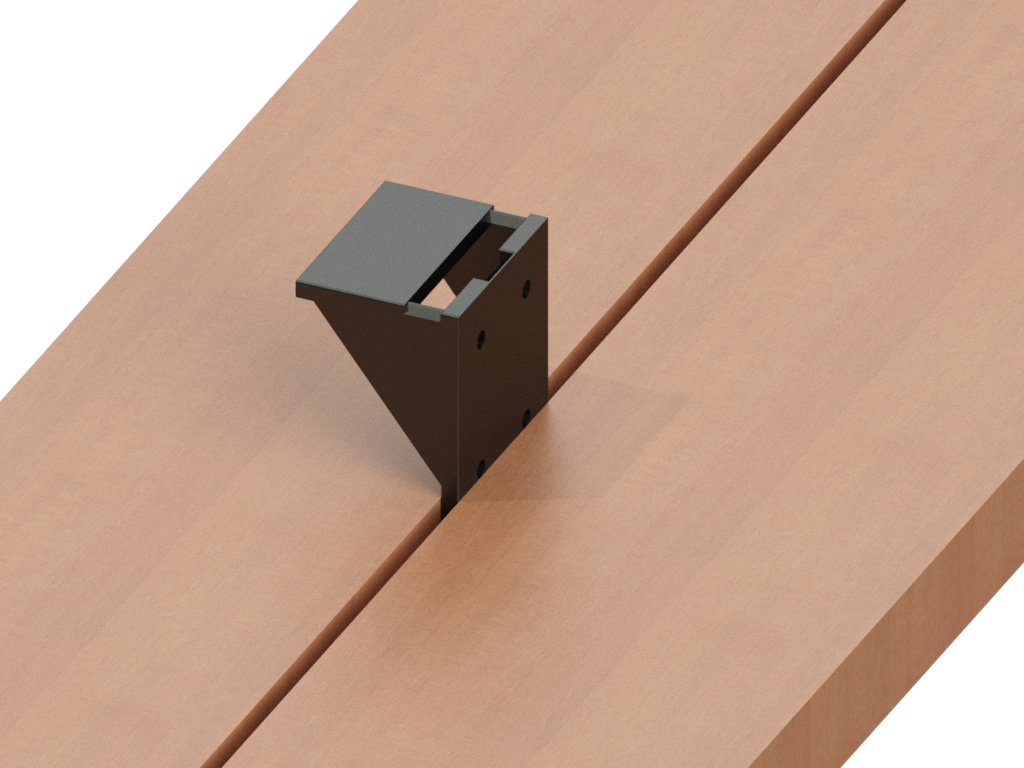
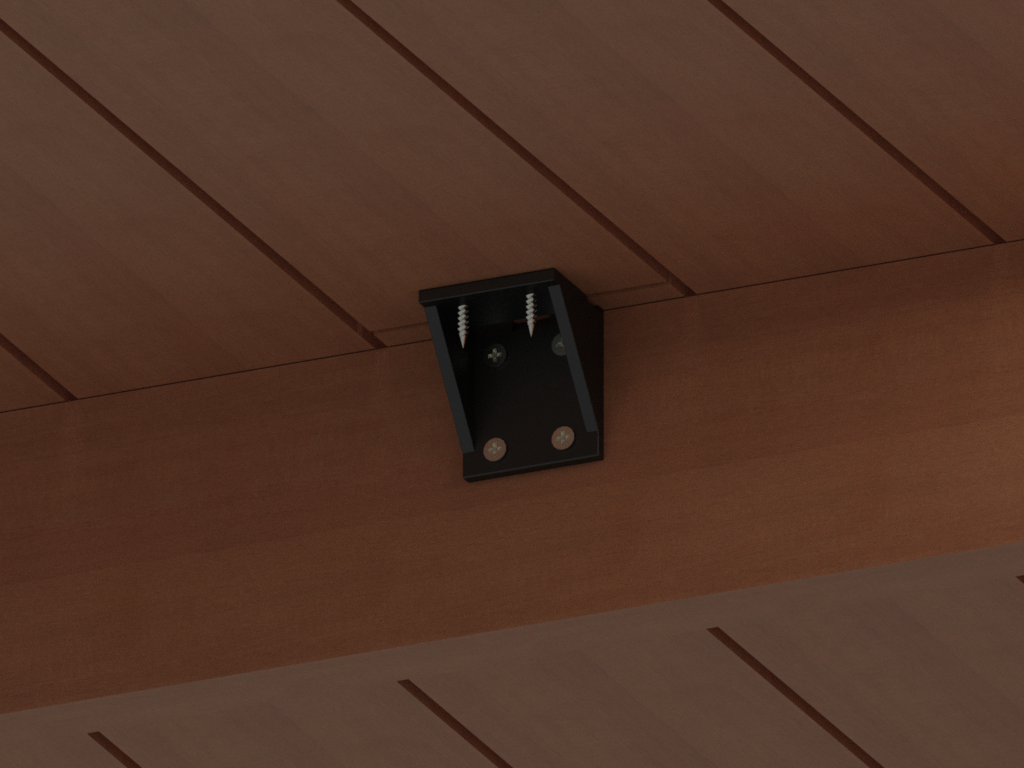
SIMPLE BOARD TO BOARD CONNECTIONS
Easiest way to replace sister joist detail for long decks that require them. Save lumber!
Simplest way to follow virtually all decking manufacturers recommendation to allow for a gap and drainage between deckboards.
ZERO PREDRILLING - SAVE TIME.
NO Predrilling, has great screw holding power, will not split.
Prevents Deck Board end Rot.
Makes inlay work and boarder and picture framing very easy.
UNIQUELY VERSATILE
Works anywhere a support bracket is required!
Stair tread connections too!
WHAT OUR CUSTOMERS SAY
Frequently Asked Questions
The bottom wing of the deck widget come to a point, and the widget is 3/16 thick. This is common amongst Deck board manufacturers. When boards are too tight together, it is quite easy to use the deck widget as a wedge to space the boards. If Gap is too big, screw the widget in place then use a screwdriver or prybar to pull the board in.
It is common for boards to be screwed down to one deck joist, when doing butt connections. This is poor Practice. Better detail would be to scab a piece of joist onto an existing joist, but then water can get between the boards also causing rot. By using the deck bracket, it is extremely easy to screw onto a joist, and have a surface that the deckboard can be screwed. When installed at butt joint locations properly, the gap in the board facilitates drainage, preventing joist rot.
The universal standard for deflection in deck boards is L/360. Because of the design of the bracket, and the fact that it is screwed directly onto a joist, this criteria is easily achieved.
Besides preventing rotting of joist and/or deck boards, the Deck Widget can save a significant amount of money in lumber when framing a deck. Inlay work, borders, picture framing, framing around posts, are all details that require extra framing material, and a lot of time as well. The Deck Widget cuts install time in half, with a fraction of the cost, to make above noted details simple, elegant and cost effective!
The material used easily accepts a screw, even if not predrilled. Furthermore, the joist face has screw hole penetrations to easily accept a # 7 thru # 9 deck screw. The deck board face also has holes to make it very easy to screw into the boards. Camo screws, Kreg jig screws, and virtually all deckboard clips can be used with the Deck Widget! Deck boards can be screwed, from below, from above, and with ALL centre clips. Just be sure that when screwing from below, the screw does not penetrate the top of the deck board.
Virtually ALL deck board manufactures recommend that screws be used only at least 0.75 inch from the deck board end. This is very hard to do unless a sister joist is used. The Deck Widget is the easiest way to Prevent Deck board splitting, and does not require Predrilling or Sister joists to be used.
Due to the Patented design of the Deck Widget, when properly installed with the drainage slot facing up. Only the side wings are visible and these are only 3/16 inch wide and black. Centre clips are far more visible then the Deck Widget.
As these are very strong and will not corrode, then can be used anywhere a bracket is required. A few examples of applications would be with melamine shelves to support to walls, door stops, Fascia hanging, picnic table brackets, General construction, Furniture building, Hanging stair stringers, inlay, borders, picture framing, etc.
Lay or cut deckboard so that first board is 1/4 inch beyond the joist. This can fall on ANY joist. Position the Deck Widget so that it fits under this lip. Orient the board so that it is centred in the board gap ( when using a clip system ) OR, use one on each board edge when using screws. You now have a surface to screw boards down from any direction, and with any screw. ALSO, be sure to have the drainage slot facing up, so if you down at the connection, you do not see the bracket. Lastly, place next board down so that is has a gap that matches the Deckboard manufactures specifications. That usually is the same as the side to side clearance specified (typically 3/16, but see manufactures data to confirm). This is important as it allows for expansion and contraction of the deckboard.


