How to Add Shade to Your Deck
If every time you step onto your deck you feel like you’re on the surface of the sun it may be time for you to add some shade to your deck. There are tons of options available from large canopies to awnings so you can find the best choice for you and your budget. And, if you do it yourself there are shade options that are easy to put together and very inexpensive. Check out some of the options available below.
Canopy Awnings
Canopy awnings are a shade solution that is permanently installed onto your house or attached to your freestanding decks frame that has fabric attached that can be removed and replaced. Most canopy fabrics last around 15 years so you will not have to change it out very often unless you just want to change your fabrics every season for aesthetic purposes. A great addition to canopy awnings is outdoor lighting accessories like Pegasus lighting which work great to illuminate both your deck and your awning.
Like all things there are pros and cons to canopy awnings. They are good for providing full shade of small decks and partial shade of larger decks and are made of tear-resistant shade cloth that can withstand many types of outdoor elements like rain, hail and very strong winds. One downside to canopy awnings is that unlike retractable alternatives there is no real way to let in sun quickly if you want to because it is a two man job to even remove the fabric.
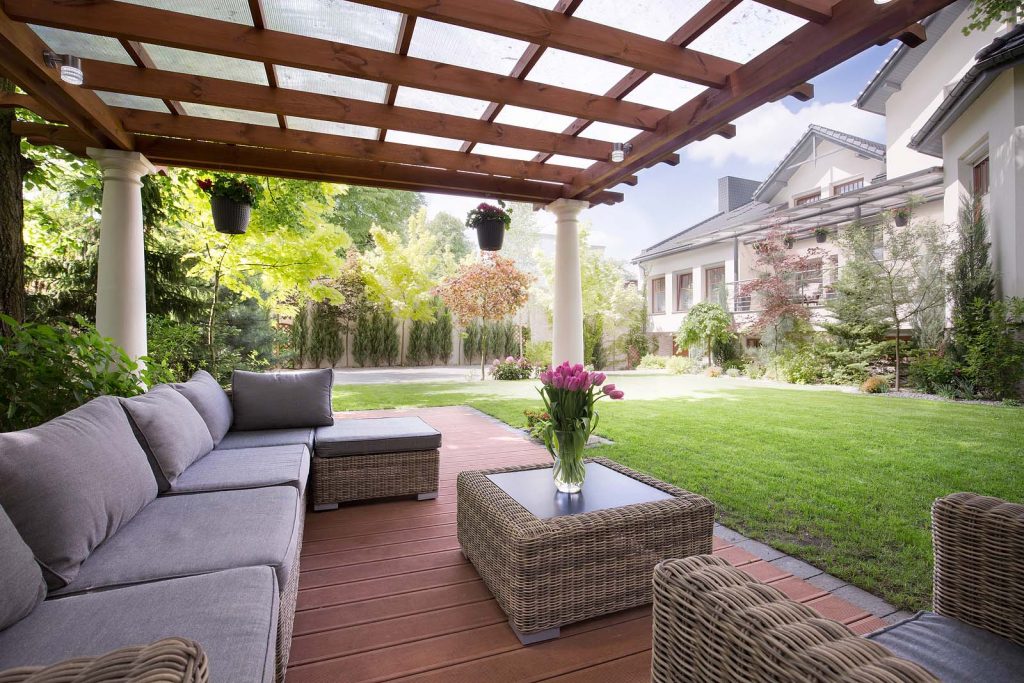
Pergolas
If you are not interested in having your entire deck in the shade a great partial-shade solution is to build your own pergola. Pergolas come in all different shapes and colors so they are easy to blend in with the size and style of your deck and they are very easy to build and add to your deck. You can add fabric to your pergola as a shade option or you can plant vines so that they grow all over your pergola and provide a more natural shade option.
Retractable Awning
Retractable awnings are awnings made out of a metal framework that is then covered with shade fabric after it is mounted directly onto the side of your house. Large retractable awnings need the support of a diagonal arm while smaller awnings have hidden lateral arms that support them. You can use a hand or motorized crank in order to retract the awning when you like and let in some sun.
One of the best things about retractable awnings is just that, they’re retractable. They provide all the shade you need while allowing you the option to catch some rays quickly without the hassle of having to find someone to help you remove the fabric. The downside is that they do not stand up extremely well to strong winds and won’t be able to provide complete shade for large decks. Also, unlike easy-to-build pergolas and canopy awning options it is not recommended for homeowners to install their retractable awnings themselves.
Portable Shade Canopy
One of the quickest and easiest shade options portable shade canopies take minutes to set up and you can move them to wherever you want shade on your deck. It is essentially a tent with four posts and can be found at your local home department store.
Sunshade
Add some flair and function to your railing options like Fortress with a sunshade. They fasten directly onto your deck railing and are great at blocking the sun when it is rising and setting. A feature a lot of shade structures that are overhead like awnings can’t provide. You can find a variety of sunshade options available online and at your local home improvement store.
Natural Shade Options
For a more “green” alternative to shade you can plant trees around your deck that will provide shade all year round and look and smell nice. A great option that will last all year is evergreens since they grow tall enough to provide shade and can be planted in a planter so you can move them around. For other options on the best types of trees or plants to add to your backyard you can go to your local nursery and ask them about the best choices for your climate and backyard.
So the next time you step out on your deck and have to shade your eyes from the intensity of the sun know that there are options available to you to help you protect you and your guests from the sun as well as add complexity and depth to your deck.